Monday, January 31, 2011

Pillow 4 revealed

This might be my favorite pillow yet. Individually, each part of it is very simple. The applique is not a big intricate piece, but rather plain and simple. The borders are just that, borders, no fancy piecing involved. Put them all together though, and you have one gorgeous pillow! The purple inner border is from Amy Butler's latest line, Soul Blossoms, and the blue/gray outer border is from one of my all time favorite fabric lines - Valorie Wells's Olive Rose. I use a piece of Olive Rose in almost everything I make!

This post is earlier than usual today. I have been doing my posts late at night, mainly because that's when everybody in this house is asleep and I have some time to sew without interruption. But this afternoon the sun has been shining in the front window and the living room is bathed in it's warm rays. I just couldn't resist making the pillow insert and taking my photos with the sun streaming in!


Sunday, January 30, 2011

Pillow Number 4

I set out tonight to just applique the little blue wing on my bird and ended up with the entire pillow finished. I have no idea how that happened as it wasn't my intention!

I still have to make the insert for the pillow so my photo tonight is of part of the cover only. I'll give you a sneak peak but save the big reveal for tomorrow when I make the insert...

Saturday, January 29, 2011

Pinky


I am on such a pink kick lately. OK OK so I've been on a pink kick since I was about 2 years old. What can I say? I just love pink! I couldn't resist choosing a pink bird to sit on top of my flower. I do rather like him (yes for some reason I feel my pink bird is a 'he') with a blue wing which I still need to stitch down.

Friday, January 28, 2011

One Hour Friday

Fridays are always so busy for me that I'm going to start start a Friday post tradition called "One Hour Friday".

The idea is to see if I can make an entire project in just one hour. Of course they won't be big huge projects, but it at least will give me a chance to think and design quickly on the go, using lots of improv sewing skills, and come up with cute little projects!

My first One Hour Friday project is a pincushion. I just pieced scraps from my scrap bin together into a log cabin block. The strips were small, no more than one inch wide, and the pincushion finished at 6.5 inches wide.It's a cute little project that will probably serve as a decoration on a shelf on my bookcase.What can you make in just one hour?!

Thursday, January 27, 2011

Birdy


This little flower is finally finished and now I just need to decide on fabric for the bird so I can get this little appliqued block finished and into the center of another pillow!

Wednesday, January 26, 2011

And the Bag is DONE!

The bag went together very nicely and I am so in love with it! There is something about corduroy that I find so comforting, so combining corduroy and quilting is like some kind of heaven to me!

My favorite part of the bag, and an unexpected thing, is a hidden pocket. It is on the back but towards the side, and you'd never know it was there. But the best thing is how big the pocket is - it's huge! About half the size of the bag and nice and deep. It's perfect to slip a phone or glasses etc into. Here you can just see my fingers going into it, but I can put my hand in past my wrist, and it's the same height as the bag.
The strap is long enough that I can use it across my body, but it's also adjustable if you want it shorter.This will definitely be a well used bag!

Tuesday, January 25, 2011

Bag started


Remember a few posts back where I showed you the bag kit I won? I decided to start making it tonight and it's coming along very nicely. I have cut out all the pieces and appliqued and quilted the front. I think it's going to be a lovely bag - I particularly like the corduroy that is the main fabric of the bag. It's meant to start snowing AGAIN here in NH tomorrow night, so I think that's the only excuse I need to stay inside and finish this bag, right?!

Monday, January 24, 2011

All 3

I am really reaching for something to blog about today. I am glad I set the goal on January 1st to blog every day for a year, and I still intend on keeping that goal, but some days it's so hard to think of something interesting to share with you. Like today. All I did was make a pillow insert. How exciting is that? I'll let you in on a secret...last night when I posted about the third pillow I made, I had only just finished making it minutes before and didn't have time to make the pillow insert for it in time to make the midnight posting deadline. So I took the insert from the pink and green pillow and put it in the applique one, took the photos and posted. Of course that left me with a sad looking deflated pink/green pillow! And that was why I made another one tonight. And now you know the boring story behind the sewing I did today!

After all that you deserve some pictures, so here are some of them living happily together on the loveseat...

Sunday, January 23, 2011

Pillow number 3

I am short on words tonight as I have only 10 mins to meet my midnight deadline. So enjoy the photos!


I love my hubby! He is so cute!

Saturday, January 22, 2011

Busy busy

Just a quick post tonight. I only did a little bit of stitching today, working on an applique center for a pillow...Most of my day was taken up making this...What is it you ask? It's a birthday chart for the Primary Children's organization at our church. Keeping track of birthdays is just so much more fun when your face is on a candle stuck in a cake, right?! After hours of printing, cutting, laminating, pasting and sticking, it's finally done. Since everything is laminated, it will be easy to replace faces as the children and teachers come and go. These kind of things always take a long time to make, but the payoff is once it's done, it's done, and hopefully you won't have to make it again for many years!

Friday, January 21, 2011

Applique pillow

I dug out an old project tonight to turn into a pillow. OK, so it's from November and not really that old! Do you remember this project? I had completely forgotten about it and was excited that with a minimum of work I could turn this into one of my 6 pillows! Unfortunately I didn't decide to do this until an hour ago, and I only got some basic outline quilting done, so I'm just going to show you the back!
It's in a very raw state, but at least you can see where I'm headed. Hopefully it will get finished up tomorrow and I can show you the whole thing!

Something I did want to show you tonight is some mail I received today. The good kind - not a bill or a solicitation, but a prize I had won from the Sew Mama Sew giveaway week!Violet of Violet Craft Designs sent me an entire kit to make one of her bags! Now she didn't ask me to say anything about it, but I was so impressed with what she sent that I just want to show you. She sent me all the fabric I need for it, the strap, the clasp, the D-rings, the pattern, the fusible batting (love that stuff!!!) and my very favorite thing, the leaves, pre-cut and pre-fused!
Yippee!! I am SO excited to make this bag, and will definitely show you my progress as I go. It shouldn't take too long with half the work already done for me! Thank you Violet! I won a few different things from the Sew Mama Sew Giveaway week and will show them to you as I use them. There are a lot of generous crafters out there, and hopefully I can participate in their next one.

Thursday, January 20, 2011

Pink Pillow done

I spent some time today finishing up the pink and green pillow.
It is bigger than the last one, finishing at about 20 inches instead of 18. It certainly used a lot more stuffing. Talking of stuffing, let me tell you what I did. Normally I would buy pillow forms from somewhere like Joann's, waiting until they were on sale for half off, or use coupons to get them 40% off. This week they were indeed on sale, 50% off, which I was very excited about. But still, they're not cheap. A normally $15 pillow form is still $7.50, and I wondered how I could improve on that. It so happens that this week the big bags of stuffing are also 50% off, making each bag $3 instead of 6. Now there is a lot of stuffing in one of those big bags, and I figured I could probably stuff two cushions from one bag, making it a lot cheaper.

Today I tested that theory, and it turns out I was exactly right! I made two inserts out of cheap white muslin, which would have cost about 50 cents each. The bag of stuffing had exactly enough to stuff both my 20 inch insert and my 18 inch insert. Without much math needed, you can see that the $3 bag of stuffing divided into 2 pillows is $1.50 each, plus 50 cents each for the outer fabric means I made each pillow form for just $2 which is so much cheaper than the ready made ones, even when they're on sale! So that's your tip for the day - make your own pillow forms. Plus mine are stuffed a little more fully than the store bought ones, which is even more bang for your buck! (Now is anyone still reading after that ridiculous amount of simple, but boring math?!)

For the quilting on the back, I thought I'd do something simple and fast, just some pairs of straight lines.
Who was I kidding - simple? Fast? No!! Those darn straight lines took longer than piecing the entire top, and each piece used an entire bobbin! Aaargh! Next time I'll stick to my usual concentric shapes. So much faster as there is much less stop and go sewing.

I just followed the line of the logs for the front quilting. Much easier than that silly stuff on the back!

The 20 inch pillow was so full of stuffing that the envelope opening was opening a little too much, so I just sewed on some velcro which was a nice easy fix.
I definitely recommend the sew in kind. I have used sticky back velcro for the same thing in the past, but it just doesn't stay stuck with all the use a pillow gets.

And look who doesn't care in the slightest that there's a new pillow in the house...I think the next pillow will be something with applique. I'm ready to get back into the applique groove!

Wednesday, January 19, 2011

In the Pink


Last night the pink and green log cabin I showed you was about 10 inches and tonight it's increased to 20, with some improv moments thrown in at the end. Tomorrow I'll quilt it up and have another cushion. I am having fun with these cushions - sometimes you just need a quick mindless project and they are fitting the bill perfectly! I especially like this little improv piecing moment...
My daughter has also been doing some stitching of her own, but with yarn. She got a Joann's gift card for Christmas and finally spent the last of it this week on a hat loom. Her Grandma taught her how to use one when we visited her in Utah this last Summer, and Sofia has wanted her own set ever since. Armed with a 50% off coupon she was unstoppable! This was her first attempt, and I didn't help her with it, and it didn't exactly turn out how she hoped.
But she's trying again, so far by herself, but this time I'll help her finish it off.
She's making great progress. Thanks Grandma!

Tuesday, January 18, 2011

Tasty Tuesday


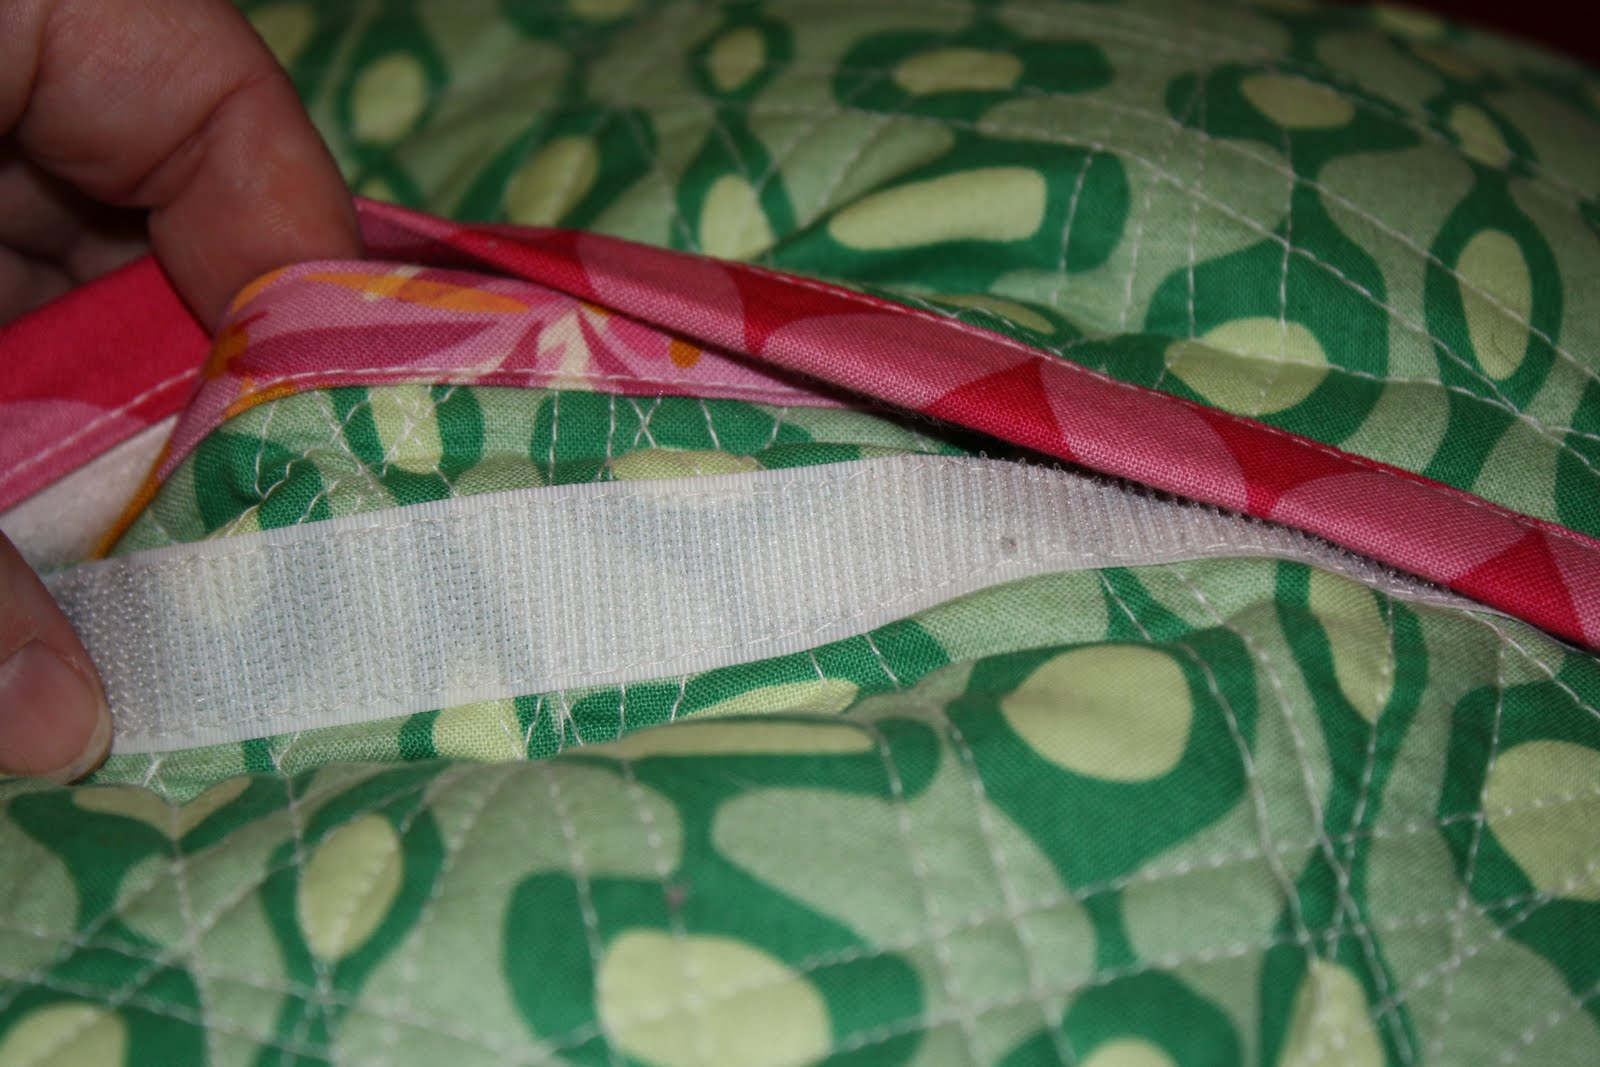
I managed to sneak some sewing in for the day, just in the last half hour! I started another wonky log cabin cushion cover, this time in pinks and greens. The block is only half way done, but it's a start.

Today we had a big Thanksgiving dinner. Yes, in the middle of January. The only reason being that my hubby went to the supermarket last week and came home with a 20 pound turkey for $10.
Plus it was a snow day today, no school, and we had a visitor called Jake at the house, so why not?! The recipe I decided to make today and share with you is something called, "Pani Popo", or Samoan Coconut Buns. We make them a lot in New Zealand, especially since the Polynesian influence is so strong there, and there are a lot of delicious Polynesian foods, this being one of them!

They are so incredibly easy to make, but so yummy!

First you make you favorite bread/roll recipe. Mine is here if you need one:

Into a bowl (I use a Kitchen Aid) put all the ingredients in the following order:

1.5 C warm water
2 tsp yeast
1/4 c sugar
1/4 c oil
3.5 c flour
1 tsp salt

Mix all together and add more flour if it's too wet, but you don't want it to be too dry. Let it mix for at least 5 minutes. Let rise until doubled in size, roll into balls, put into ungreased pan, and let double in size again.

(I use this dough for everything - rolls, bread, cinnamon rolls, pizza, you name it! Instead of making your own dough though, you could also just use frozen dough rolls from the supermarket. That makes it REALLY simple!

But back to the coconut buns.

Here comes the magic. In a separate smallish bowl, combine one can of coconut milk and 1 cup of sugar.
I used 2 cans and 2 cups sugar today because I put my buns in two aluminum pans due to my regular roll pan being used to cook the turkey! Plus when you use 2 cans, you get extra sauce to sop the rolls in. But more on that soon...

Take your coconut milk/sugar mixture and just pour it over the rolls.

Don't do anything fancy, it's really that simple. Then put into a 425 degree oven for about 20 minutes until the rolls are brown on top.


They will look like regular rolls, but then you take one out and you see all the creamy sauce that has formed at the bottom.

It will have soaked into the bottom of the bun a bit, but there is still lots to scoop up with the bun.


When our visitor Jake tasted them tonight, he said that he thinks it was a life changing moment. Yes they are that good! And you can see in this picture how lovingly he is looking at them. And they are so simple that he thinks even he could make them! Like he said, life changing!